Showing posts with label vintage. Show all posts

Thursday, October 19, 2017

Vintage Halloween Fun - DIY Mash-Up!

Fall is underway, and quite honestly Halloween is sneaking up on me too quickly this year!  While I'm planning a lower key holiday this year, I'm finding myself short on time for any major projects and events.  Anyone else with me?!!  If you just don't have the time, or maybe you are one of those super-together people with large events planned and just need a few more finishing touches (kudos to you), I'm pulling together my favorite vintage DIY halloween projects.  This post is a combo of projects we've done here at Out 2 Lunch, as well as some other fun projects I've found on pinterest and want to try!  Take a Peek!  Get Inspired!  Click on the links to be routed to directions/ instructions, etc.

Fabric Pumpkins!!  These pumpkins were a project Stacy and I did last year.  We had so much fun making them.  And we both constantly get comments on them displayed in our homes, as well as decor at arts shows we attend.  Using vintage fabric, you can tailor them to any decor scheme you have!!  Got some scraps laying around?

Poe Inspired Raven Wreath!! Searching pinterest, I found this Nevermore Fall Raven Wreath Tutorial from 4onemore.com.  As both a reader/book lover and having lived many years in Baltimore during part of my life, I Love THE RAVEN at Halloween!  Naturally, I had to make this one!  Follow the link above to the original post, and create your own adaptation like I did, (pictured left).

Vintage Glass Shade Ghost Lights!!  I have not made these yet, but I really, really want to!  This idea from sadieseasongoods.com from a couple years ago, is adorable!  I can already see these guys lined up along my porch railing.  And of course, anything using vintage materials is a plus in my book!

Vintage Light Fixture Halloween Moon!!  Talk about a fabulous party centerpiece, or decor placed in a window!  Here's another one from sadieseasongoods.com, this time using a round, globe, vintage light fixture.  Such a mood-setter!

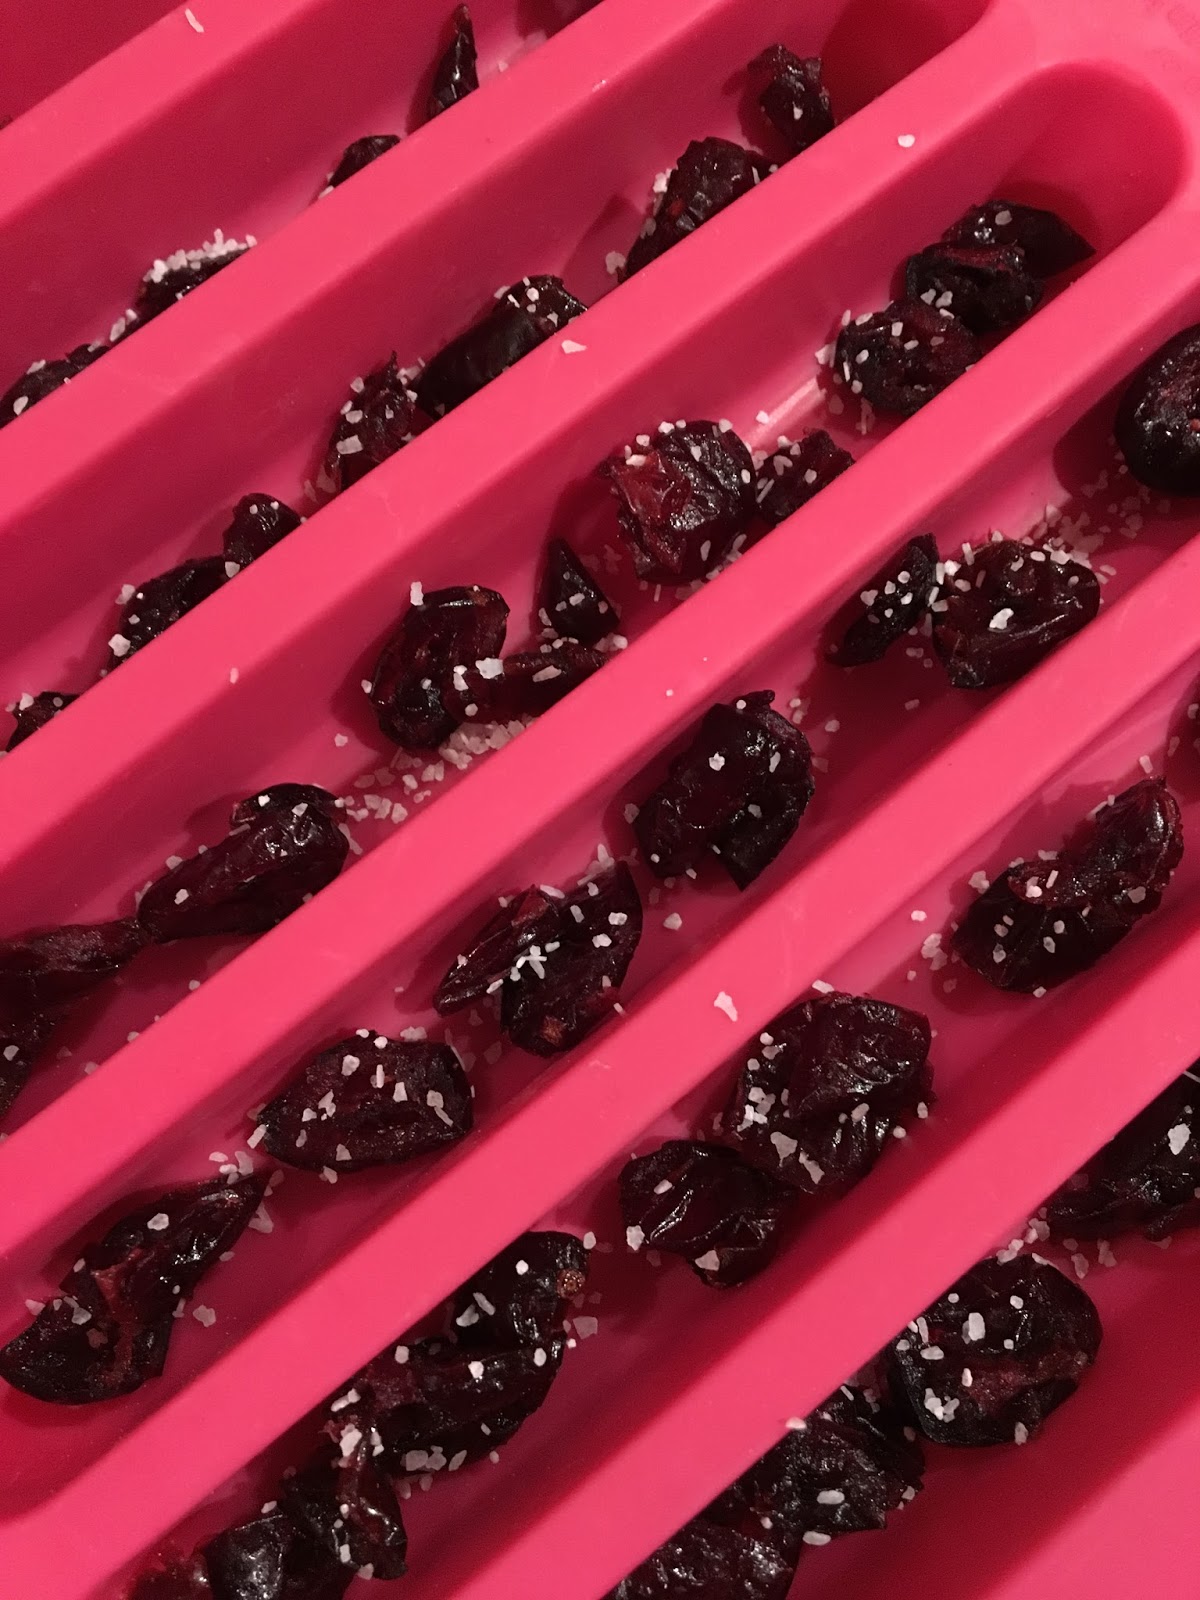
DIY Vintage Swizzle Sticks!!  Serving drinks over Halloween?  Here's a perfect Halloween color-combo of our vintage swizzle stick blog post from this past September!  Talk about a fun way to add gothic-glam sparkle to your party drinks, or a just-for-fun mood setter for drinks post trick-or-treating!

And last, but not least, if you're looking for some cute edible ideas?  Stacy pulled together this post of fun Halloween Foods last year.  Check it out for some quick, simple, fun inspirations!!  Kid Tested!

 Happy Fall, Safe Trick-or-Treating for all, and as always,

Cheers!
-Christine and Stacy

Links are also available here on our Out 2 Lunch pinterest board "Blog Sources"

Tuesday, May 23, 2017

Vintage Style, Modern Twist

What to do with family heirlooms, particularly jewelry, always seems to be a tricky topic. So often grandma's jewelry gets passed down to children, grandchildren and great-grandchildren that truly want to have a memento to remember their loved one, but they just don't know what to do with it. Sometimes grandma had a very different build or style and the pieces just don't look right on the recipient, sometimes they are so dated they don't fit with anyone in the family, and sometimes there's a beautiful piece that has some damage that makes it unwearable.

I was in this situation a few summers back, when I received a collection of jewelry from my grandmother's estate. There are some pieces I love, and wear as is. Many others I wanted but didn't know what to do with. They have been in a cedar chest through two years and a move- lately I've been really thinking through what to do with them... I want to create something that I will use regularly, and that will really showcase the pieces.  We (Christine and I) came up with some fun ideas that we're sharing with you! 

Some pieces are an easy DIY project, you can alter them yourself in a non-permanent way. I received a set of blue ceramic beads, to which I added a vintage enamel brooch - it made the perfect July 4th accessory.

Christine has a collection of vintage milk glass and metal necklaces that she has knotted off and wears for a modern, casual look.  Rather than buying "new" accessories, check out some local thrift and antique shops, or search around on e-bay, etsy, and poshmark for fun vintage finds. You never know what's out there just waiting to be found!

Vintage Jewelry - Out2LunchDesigns
Some pieces, on the other hand, require more work to make it into your wardrobe. For this you need professional assistance- which we have just added to our repertoire! We'd like to introduce the Out 2 Lunch custom line! (Not sure why it took so long to come up with this - probably because it's a little scary to work with other people's heirlooms, and we want to make sure we get it right). Our clients can be as involved, or not, in the design process as they choose to be. Some people just know that they want to use certain pieces- maybe to create a set of gifts for all the children and grandchildren, or maybe to enhance a special day with a sentimental or special heirloom piece.
Fabric Swatches - Out2LunchDesigns

Once we receive the jewelry we sort through our fabrics and come up with fabulous combinations that suit the pieces. Other folks have in mind a color scheme or a certain style they want to capture- in that case, we will work (in person and or via email) to find the perfect fabric to meet their vision. Once we have the design elements in place, we create one of our high quality, handmade clutches - seamlessly incorporating their family pieces. When we are done, everyone has a memory that they can incorporate into their life! 

This can also be a popular wedding option. For a few years, the "brooch bouquets" we're popular. Though beautiful, they were often very heavy and not useful for anything but decor afterwards. We are now offering the chance to create a wedding keepsake you will use for years!

Incorporate family jewelry as the "something old" on a clutch for the bride, create a set for the bride and her mother, or create a bridesmaids set - using your jewelry or ours. Our design style and attention to detail will help you to create a keepsake that will be treasured for years.

Check out our website www.out2lunchdesigns.com/home/custom-orders for more details, we'd love to help plan something special for you!  Plus, show us your pics of vintage jewelry used along with today's styles! (tag us on Instagram!)

Happy Creating and Styling!
Stacy and Christine

Tuesday, May 9, 2017

Thanks - To Moms and Teachers!


It's that time of year when we recognize  people that are so important in the lives of children... As I sat down to write this blog, I was struck by the fact that Teacher Appreciation Week and Mother's Day are both in early May.  In fact, this year Mother's Day falls just after National Teacher Appreciation Week concludes.  So.... we are sharing with you an easy project that you can share with a teacher, your mom, or anyone else that needs a little brightening in their day! 

One of the best things about having a partner in a creative business is having twice the brainstorming power! Last winter we were talking about how many teachers our children have (as they switch classes even in elementary school) and what would be good end of year gifts that the teachers would (hopefully) enjoy, would be unique and in keeping with our goals of being vintage inspired, earth friendly and supporting local economies, and would be cost effective since we had so many to make! 


As we often do, we turned to Ebay for inspiration.  We discovered a vintage tea set being sold at a great price as it was missing a few pieces, and took off from there. Once we realized that there were enough
remaining pieces for all of our teachers, we put in the bid and began to flesh out the rest of the project.  

The tea cups, creamer and sugar bowl became the perfect planters!  Our children had some input on which plants they wanted to use, so their personalities are reflected as well, and they had a ball helping us assemble the mini planters.  Feel free to borrow from our ideas, and make changes to make it your own! 

We'd love to hear how you have used vintage pieces in your gardening or about fun gifts that you have created - please share your ideas in the comments below! 


Happy Spring! 

Stacy and Christine

Thursday, February 2, 2017

Cherry Almond Cream - A Year of Cocktails (February)


February, such a chilly month in the middle of the winter, calls for a cozy drink that pairs well with chocolate! We discovered Cherry Almond Cream - which was delicious with some easy homemade chocolates. This drink is perfect for a Valentine's Day Celebration with your significant other, or a girls night in.

Cherry brandy drinks have been popular since the colonial era, the Mount Vernon website even shares the Washington family recipe for Cherry Bounce (very similar to this drink).  Cherry Heering, the quintessential Cherry liqueur, has been produced in Europe since 1818 and was even the signature drink on some European airlines in the mid-century. As American cocktail parties reached their peak during the post-war boom of the 1950's; it's no surprise that they included drinks influenced by European liquors. Many servicemen had the opportunity to try such drinks while deployed, and some- no doubt- brought them home as souvenirs.

 While the original recipe (found below) that we used called for a Cherry Brandy, we discovered that they are no longer widely available in the United States. We could not locate a distributor in a several state area, in the southeast region. If you can buy it in your area, grab some and consider yourself lucky! If not, you have one of two options... pre plan and make your own (soaking cherries in brandy for several weeks -recipes readily available online), or substitute. We took the later option, substituting an easily available Cherry Bourbon. We had to slightly reduce the amount of bourbon, as it was a bit too sweet for our tastes. You can play with the ingredients to suite your preferences as well.


Cherry Almond Cream Cocktail
3/4 ounces Cherry Brandy
3/4 ounces Amaretto
half and half
ice
Chocolate for garnish

Add liqueurs to a tumbler filled with ice, and add half and half to fill up glass. Stir to mix, and enjoy!

We created our chocolate garnish with leftovers from the chocolates we made to accompany the drinks- simply put a glob of chocolate on parchment paper to cool. Then carefully shave off a curl with a sharp knife and place the curl around the glass lip!

To make the chocolates...

Start with a silicone mold- we used a slim ice mold that we had available, but you could use any shape or style that you like. If you use a deeper mold, don't fill it more than about 3/4"
Adding the craisins and salt to the mold
deep with chocolate. 

Sprinkle crasins and sea salt in the bottom of your mold

Melt semi-sweet chocolate chips on the stove top or in the microwave. If you use the microwave, initially do one minute at 50% power. Stir and continue at 30 sec intervals, 50% power until the chips are melted. With a spoon, put the melted chocolate into your mold. After the mold is full, tap it gently on the counter several times to remove air bubbles. You will see them come to the surface and pop! 

Refrigerate the mold until the chocolate it set, then carefully pop it out. 

We found that the tartness of the crasins was the perfect foil to the sweetness of the drink. It might be even better with a dark chocolate! If you try any variations, share them with us in the comments!! 
Finished Chocolates

Bon Apetite!
Stacy 

Tuesday, October 18, 2016

An Alternative Fall - Home Decor


Well, we had SO much fun creating pumpkins for our earlier Fabric Pumpkins Blog Post, and had so many compliments on them at a show we attended over weekend, we decided to share with all of you how wee incorporated them into our personal home decors. These pumpkins are fairly easy to make and perfect for adding a custom look to your house from early fall through Thanksgiving. Just pick a fabric or 2 or 3...that coordinates with your style, and get started...  As mentioned in our previous post, Stacy and Christine have different styles and created very different pumpkins, which of course carries over to our differently styled homes!  Everyone's home should be a reflection of their personal comfort and style. We would love to see pics of your style with your pumpkins!!

Antique Sideboard display - Out 2 Lunch 
My style (Stacy) definitely tends towards a classic coastal look; bare feet, the moon on the water, the breeze in a clear blue sky, the deep shade of moss covered oaks - these are the happy places I travel in my mind, and the decor of my home helps take me there. I grew up on the shores of Lake Ontario, and lived many years of my adult life in Charleston, SC - I am drawn to the water and find peace there. With three elementary age children, peace is a valuable commodity in our house!! When we made our pumpkins, I chose fabrics that echoed the sand, sky and water. In addition the paisley fabric was a baby sling I used with my youngest- I held on to it for over 6 years, waiting for the right project.
Beach Pumpkin- Out 2 Lunch 

Fall is one of my favorite times of year, to enjoy the outdoors and the changing of the seasons.  However, it IS NOT my favorite time of year to decorate my house. I'm not a big fan of creepy Halloween, so that doesn't leave a lot of options. My children love to decorate their play space with whimsical Halloween, and I am glad to finally have something that captures my style.

Each piece I feature in my decor has meaning for me, from family pictures to handed down furniture, to items sent to us by friends living far away. The fisherman in this area was a treasure we found going through my grandmother's belongings. Although she lived in Kansas      and Texas for most of her life, he was the perfect memento to add to the driftwood and fossilized rock my children collected in Charleston.


 I love that these pumpkins can add the warmth of fall without replacing my existing decor - they just seemed to fit in seamlessly - other than the large blue pumpkin in this picture. I loved that it was a "life size" pumpkin; lesson learned... consider the space before you create!


                                        ________________________________

Fabric pumpkins, milk glass decor - Out 2 Lunch Designs
For me (Christine), fall and the holidays are about textures and feeling.  I love the crisp cool weather that comes in at fall.  I love the changes all around me from the lush green, hot sun of summer, to vivid colors, and cooler nights, fire places lit up, and jeans, boots, and sweaters replacing tees and shorts.  With each season I enjoy and embrace the change-over.  I spent the bulk of my formative years in North Carolina, and love the distinct changes of seasons evident in areas from the coastal Outer Banks to the Blue Ridge and Smoky Mountains!   As always, I am drawn to shiny, sparkly, glam textures, as well as vintage styles and nature.

Black Velvet Pumpkin
My fall most definitely incorporates a mix of natural elements along with vintage and sparkly/shiny items (milk glass, glam vintage fabrics, shiny accessories with rocks, twigs, etc).  With the coziness of fall I also always look forward to incorporating lush textures - my hands-down favorite? Velvet!

 
Fall Mantle  via Out 2 Lunch Designs


Over the last couple years, my home has taken on a more neutral mid-tones look, incorporating mixes of grays, greens, taupes, and golds in various combinations; so I stuck to those colors with my pumpkins, letting the mix of natural stems, and glam fabrics shine.  And of course, I paired them with my fave classic, vintage milk glass, plus other elements like: glass, rocks, pottery, and textiles.  Some of my little pumpkins even show up in my Fall/Thanksgiving table set-up...but that, dear reader, is for another post - stay tuned!  :)


If you follow our fabric pumpkin post and make your own, I hope you have as much fun with them as we did!  What I absolutely love about these are their versatility, and how everyone can make them to fit their own style and personality!  Happy Decorating!

Cheers,
Christine and Stacy

Tuesday, September 20, 2016

Vintage Fabric Pumpkins - DIY!!


With September, comes full-fledged pumpkin season!  It's pumpkin everything! - pumpkin spice coffees, pumpkin lattes, pumpkin bread, pumpkin bars, pumpkin decor.  If it's pumpkin, it's currently here! Pumpkin, Pumpkin, Pumpkin, Pumpkin...

So in the pumpkin spirit, we here at Out 2 Lunch got busy making some pumpkin decorations for our homes.  A couple years ago, I found this pinterest tutorial for velvet pumpkins that I loved.  I made a whole series of pumpkins in velvets and satins that now decorate my home, my mother's and mother-in-law's homes, as well as the homes of some of my friends.  I was on a pumpkin roll!

With our love here for vintage fabrics and creative re-purposing, Stacy and I decided to make some fabric fall pumpkins using re-purposed clothes.  We both picked some items (shirts, skirts, etc.) that fit the color scheme looks we each wanted.  You can definitely see some of our personality differences here!  Stacy chose some gorgeous blues/browns for a very beachy blue fall look.  And I definitely went for a more silver/black gothic glam look.


We had SO much fun making these and we're sharing our process as well as our hard-learned do's and do not's!

Have fun, re-purpose and we'd love to see your pics!  In fact, tag us on instagram (out2lunchdesigns) with your fabric pumpkin pics and we'll re-post them!

Materials:
     Clothing/Fabric to cut up 
     Doll Making or Decorator's Needles
      - very long sewing needles
     Dried Pumpkin Stems or Stick Pieces
     Heavy Duty Thread
     Cotton Stuffing
     Sharp Scissors
     Hot Glue Gun & Glue


Step One: Cutting
Cut your fabric into large circles (doesn't need to be exact).  Keep in mind that the pumpkin will be almost half the size of the circle when finished (ie- 12" circle will make roughly a 6-7" pumpkin).  For very large pumpkins, cut 20" or larger diameter circles.

Step Two: Sewing
Run a long, doubled piece of Heavy Duty Thread through your long needle.  Make sure to use strong thread (we had some break as were tying off our pumpkins, and had to start them all over)!  To sew the pumpkins start on one edge and run the needle around the edge using a loose up and down running stitch..  It doesn't have to be perfectly even, and a loose stitch 1/2" wide is fine.  Make sure though that you have enough thread to go all the way around with some hanging out each end.  The fabric will gather as you sew and push it along the thread.  Once stitched all the way around, gently pull the strings on both ends to gather the pumpkin in, leaving about a fist-sized hole at the top.


Step Three: Stuffing
Carefully stuff wads of cotton into the pumpkin to fill to desired plumpness.  More stuffing yields a rounder, more ball like pumpkin; slightly less stuffing makes a squattier, wider pumpkin.  Once stuffed, pull strings together to close stuffing hole and tie into a knot. Be gentle with this - this is where we broke some threads!


Step Four: Finishing
You now have a nice round stuffed ball.  Re-thread your long needle and knot the end.  Run your needle/thread back and forth across the edges of the closed off hole a couple times, just to pull them tighter together, tie off thread.  Next, run your needle/thread straight down through the gathered edges, through the pumpkin, and out the bottom of the pumpkin.  Turn your needle around and run it back up.  Repeat this step a couple times, gently pulling the top and bottom of the pumpkin towards each other.  Knot and cut off thread when done.  This will indent the top and bottom to form a more realistic pumpkin shape.  You will really need the long doll needles for this step, especially with the larger sized pumpkins!

Step Five: Stem
Once all sewn, select the dried pumpkin stem of your choice and hot glue the stem to the top of your pumpkin.  Pumpkin stems can sometimes be obtained from farms and pumpkin patches.  There are numerous options for sale on ebay and Amazon.  I have also seen pumpkins made using a stick piece for the stem.  Whichever stem option you choose, make sure it is well dried so it does not rot or mold.


Then display your pumpkin and enjoy it for years to come!   

Happy Fall Y'all!!


Cheers,
Christine!

Thursday, August 4, 2016

Ready or Not


Photo: Stacy, Out 2 Lunch, LLC


Although it has been over 90 degrees for the past few weeks, and I would like nothing more than to spend my days at the beach and the pool, we all must admit at some point that Back to School time is here. If you read Christine’s last blog post , you know that Pantone has released their Fall 2016 color palette; stores are stocking up on school supplies and pumpkins; my fall loving friends are dreaming of apples and pumpkin spice.  As a native of Western New York, I fondly look back on the cool crispness of fall mornings, the changing leaves, the fresh pressed apple cider at Sanger Farms and peaches from Tom Tower’s Farm that signaled it was time to go back to school. Here in the south, it is without a doubt still summer when our children return to school.  Some of our friends in NC attend year round school, which means that they begin a new school year just after Independence Day, other schools across the Southeast begin between mid August and just after Labor Day.  Regardless of start date, southern children often transition directly from swimwear and sandals to school clothes – with plenty of beach and pool trips on the weekends. 

Hair Bows: Out 2 Lunch; Photo: Stacy, Out 2 Lunch

Whether Back to School means fall weather or an extension of summer, everyone enjoys the chance to purchase back to school clothes and school supplies. And as more schools (both public and private) have added uniforms, accessorizing becomes a great way for children of all ages to express their personalities.  Both Christine and myself have children that are full of personality and attend schools that require uniforms. This makes our Out 2 Lunch accessories the perfect way for all of their friends to express their styles.  Children, like our products, are truly one of a kind. 

     
Choosing Fabrics....   
When I decided to blog about Back to School fashions, I  must have felt like fall was further away than it is was.  I decided that moving, finding new schools, and running a business wasn’t busy enough, and I added a little extra challenge to this project.  I put a call out to my children and their friends (ranging from rising Kindergarten to 5th grade) and asked them to participate in a Back to School photo shoot – that part was easy enough, we had plenty of adorable models step into the limelight. From there I upped the ante a bit – I told the parents that I wanted each child’s clothing to reflect their personality, they could wear uniforms or not, and I would create accessories to compliment both the colors and their styles. My young models came through with flying colors – their personalities shine through, and I had a great time creating for some of my favorite people.

Below I will feature our products that are most commonly used as school accessories.  For those of you that are new to Out 2 Lunch I will also be giving a brief description of each item and its name.  When we began our business, we wanted to create accessories that would bring a modern twist to any “out to lunch” wardrobe (hence the name….) ranging from a formal garden party, to a casual picnic, to lunch out with friends. As we developed new products we named them after some of our favorite southern luncheon staples – items whose traits are reflected in the products.  I hope that you enjoy and can find some accessories that are useful and bring personality to your childrens’ back to school wardrobe! 

Hair Pin, Hair Bow and Organizer: Out 2 Lunch, LLC

Photo: Stacy, Out 2 Lunch, LLC
Fried Pickle (Tie Wallet) – Like one of our favorite appetizers, these little guys aren’t fancy or elaborate.  They are functional with a twist of fun.  There is some variation to the dimensions of these tie wallets, as there is variation in neckties.  Each wallet comfortably fits several standard size credit/gift cards, and secures with a snap closure.  These little wallets are perfect for holding earbuds, so that they do not tangle in backpacks and purses.  For older students, they are also perfect for carrying flash drives and student ID cards.

Organizers and Bows: Out 2 Lunch
Sweet Tea (Snap Pocket Organizer) - The most versatile carry-anything soft pocket you'll find! This one will show up everywhere! With its cute envelope styling, you can pack it full of sunglasses, make-up, art supplies, or use it as a pencil case! Just throw it in your backpack and you are ready for homework anywhere.   It's even cute and stylish enough to just grab and go!

Hair Pin and Purse: Out 2 Lunch
Lemonade (Denim Purse) - Comfortable and easy as your favorite old jeans - oh wait, they practically are! These denim "jeans" bags are cute, fun, relaxed and in the smaller sizes they are perfect for any age. Each has its dimensions listed on the website, has a magnetic snap closure.  They are perfect for an afternoon at the mall, and hardy enough to be carried in your backpack during the day.

Bow and Organizer: Out 2 Lunch, LLC
Divinity (Hair Bow) - Delightful, fun, and a little "nutty"; these hair clip bows bring a vintage twist to an everyday classic.  Bows vary in size.  Each is created on a covered alligator clip, and includes a piece of vintage jewelry as accent. There's something for everyone-  all ages and hair-styles -  to love!  Simply divine! 

Hair Pin: Out 2 Lunch, LLC
Praline (Hair Pin) - Fancy and everyday at the same time, these hair pins can dress up your day to day and add sparkle to any formal occasion as well.  A perfect accent to short hair or a dramatic updo!!


These products can be found for sale on our website (www.out2lunchdesigns.com) and are also featured on out Facebook, Pinterest and Instagram. If you are looking for a specific color group or style, please email us at out2lunch@out2lunchdesigns.com.  We can only feature a limited number of products on our website, as each is one of a kind, but we have a back stock and can help you find what you are looking for! In addition, the Fried Pickle and Sweet Tea will be on sale – 20% off!! -  through the end of August. 

I'd like to close with a special thanks to all my models, and their parents, that braved 90 degree temps, and what felt like 90% humidity.  I couldn't have done it without you, thanks for letting your personality shine through! You can see more of them on our website and instagram!  
Sophia: Gr 1, Lily and Louisa: Gr 2
Evelyn: Kindergarten
Ava and Clara: Gr 4, Makayla Gr 5